Borderlands 4 Blacklime Bunker Order Bunker Location And Walkthrough, How to Open Door And Beat Core Observer Boss Fight

In the vast wasteland of Borderlands 4 Guides, the Blacklime Bunker stands out as a key side quest area known for its challenging layout and rewarding loot. This Borderlands 4 Quests entry focuses on unlocking and navigating the Order Bunker, providing a detailed Borderlands 4 Blacklime Bunker walkthrough to help players progress smoothly in this looter-shooter adventure.
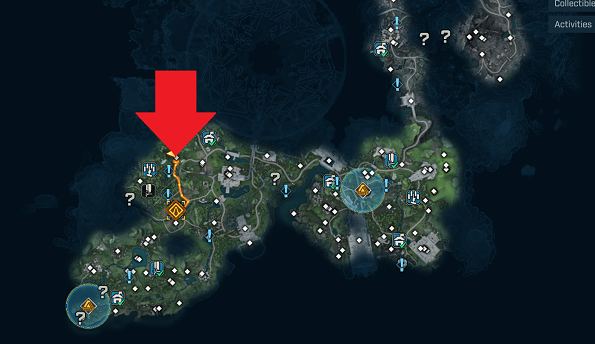
Borderlands 4 Blacklime Bunker Location:
To access the Blacklime Bunker in Borderlands 4, players must first complete the main story mission titled "One Fell Swoop." This prerequisite ensures you're geared up for the challenges ahead, aligning with the game's progression system where side activities like this become available post-certain milestones. Once that's done, head to the designated region on the map, where the bunker is accessible via natural terrain paths.
Follow the rock wall closely until you spot an opportunity to veer right, continuing to trace the wall's edge. Eventually, you'll approach a small pillar of rock topped with a machine—assuming you've advanced sufficiently in the main story, interact with it to grab a canister. Turn immediately and hurl the canister at the sealed entrance of the Blacklime Bunker. A successful hit will dissolve the barrier, revealing the interior. This step is crucial in the Borderlands 4 blacklime bunker order bunker guide, as it directly addresses how to breach the fortified door without unnecessary backtracking.
With the Borderlands 4 blacklime bunker door now open, glide across the gap and step inside. The interior path is largely linear, guiding you straight through corridors filled with potential ambushes from local foes. Keep an eye out for environmental hazards typical in Borderlands 4's chaotic environments. At one juncture, prepare to jump across a chasm—turn rightward to spot a higher platform, leap onto it, and activate the nearby button to unlock the subsequent door.
Proceed through the opened passage, then swim forward into the underwater section before veering left. This leads you into the pre-boss chamber, complete with vending machines for quick resupplies or weapon upgrades, a staple in any Borderlands 4 playthrough. From here, descend to confront the boss: the Core Observer.
The Borderlands 4 core observer boss fight demands strategic positioning. Maintain distance from the boss; by strafing left and right from afar, you can evade its sweeping yellow beam attacks entirely. The Core Observer frequently summons waves of additional enemies that swarm and engage you in close quarters—prioritize eliminating these adds swiftly to avoid being overwhelmed. In the Borderlands 4 core observer guide, a pro tip is to lob grenades at the boss, which can sometimes take out the floating minions orbiting it, clearing the field efficiently.
Occasionally, the boss unleashes a frenzied area-wide shooting assault, spraying projectiles in all directions. Simply duck behind cover or retreat to a safe range to weather this phase without sustaining damage. Beyond these mechanics, the encounter boils down to a straightforward slugfest, grinding down the boss's health bar with sustained firepower from your arsenal.
Upon victory, a purple orb materializes, allowing you to respawn directly at the boss arena for repeated attempts if you're farming for better drops. Alternatively, utilize the nearby elevator to ascend and exit, or fast travel back to your previous hub in the Borderlands 4 world.