Borderlands 4 The Claim Abandoned Augur Mine Walkthrough, How to Open Red Door, The Backhive Boss Location

In Borderlands 4 Guides, tackling side quests like the one in the Abandoned Augur Mine stands out for its challenging navigation and rewarding boss encounter. To kick off this Borderlands 4 Quests adventure, players must first complete the main story mission known as One Fell Swoop. Finishing that unlocks access to the Abandoned Augur Mine, setting the stage for the Borderlands 4 The Claim Abandoned Augur Mine Walkthrough.
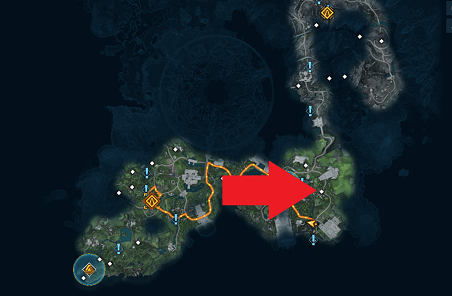
Boderlands The Claim Mine Location:
Once inside, you'll descend into a series of caves teeming with green slime hazards. The key to progressing through the Borderlands 4 The Claim Walkthrough is avoiding contact with the slime at all costs, as it deals significant damage. Rely heavily on your glide pack to traverse these infested areas safely. Several sections require wall-climbing to bypass pools of the toxic green slime and reach the next zone. The path remains mostly linear and straightforward, guiding you steadily toward the climax.
As you advance in the Borderlands 4 Claim Mine Walkthrough, keep an eye out for environmental cues to maintain momentum without backtracking. For those wondering about Borderlands 4 how to open the claim, note that entry stems from the prerequisite mission, with no additional locks beyond that initial unlock. The mine's layout encourages constant use of mobility skills, making your character's abilities crucial for a smooth run.
Reaching the end leads directly into the intense Borderlands 4 the backhive boss fight, where you face off against the Backhive, a formidable dinosaur-like creature. To survive this showdown, prioritize circling the arena's perimeter to evade its devastating charge attack, which can nearly one-shot you on impact. The Backhive also summons waves of minions, including explosive kamikaze enemies that you can easily outmaneuver by staying mobile and double-jumping away from their proximity.
Other summoned foes launch attacks that largely miss if you maintain movement and utilize double jumps effectively. Focus your firepower on the boss while dodging its slams, and use the two central pillars or sections in the arena as barriers—the Backhive cannot pass through them, ensuring its charge never connects if you loop around these structures. After defeating it, collect the unique loot drops, then head to the purple orb to return to the start and pay for a reset if desired for more runs.